Tuesday, June 26, 2012

Priming: PreKote, Paint Booth, Parts, Seafoam?

The actual priming process, begins with the PreKote surface preparation.  Here is my indentured servant plying his trade.  Ignore the unapproved footwear - the inspector missed this deficiency.


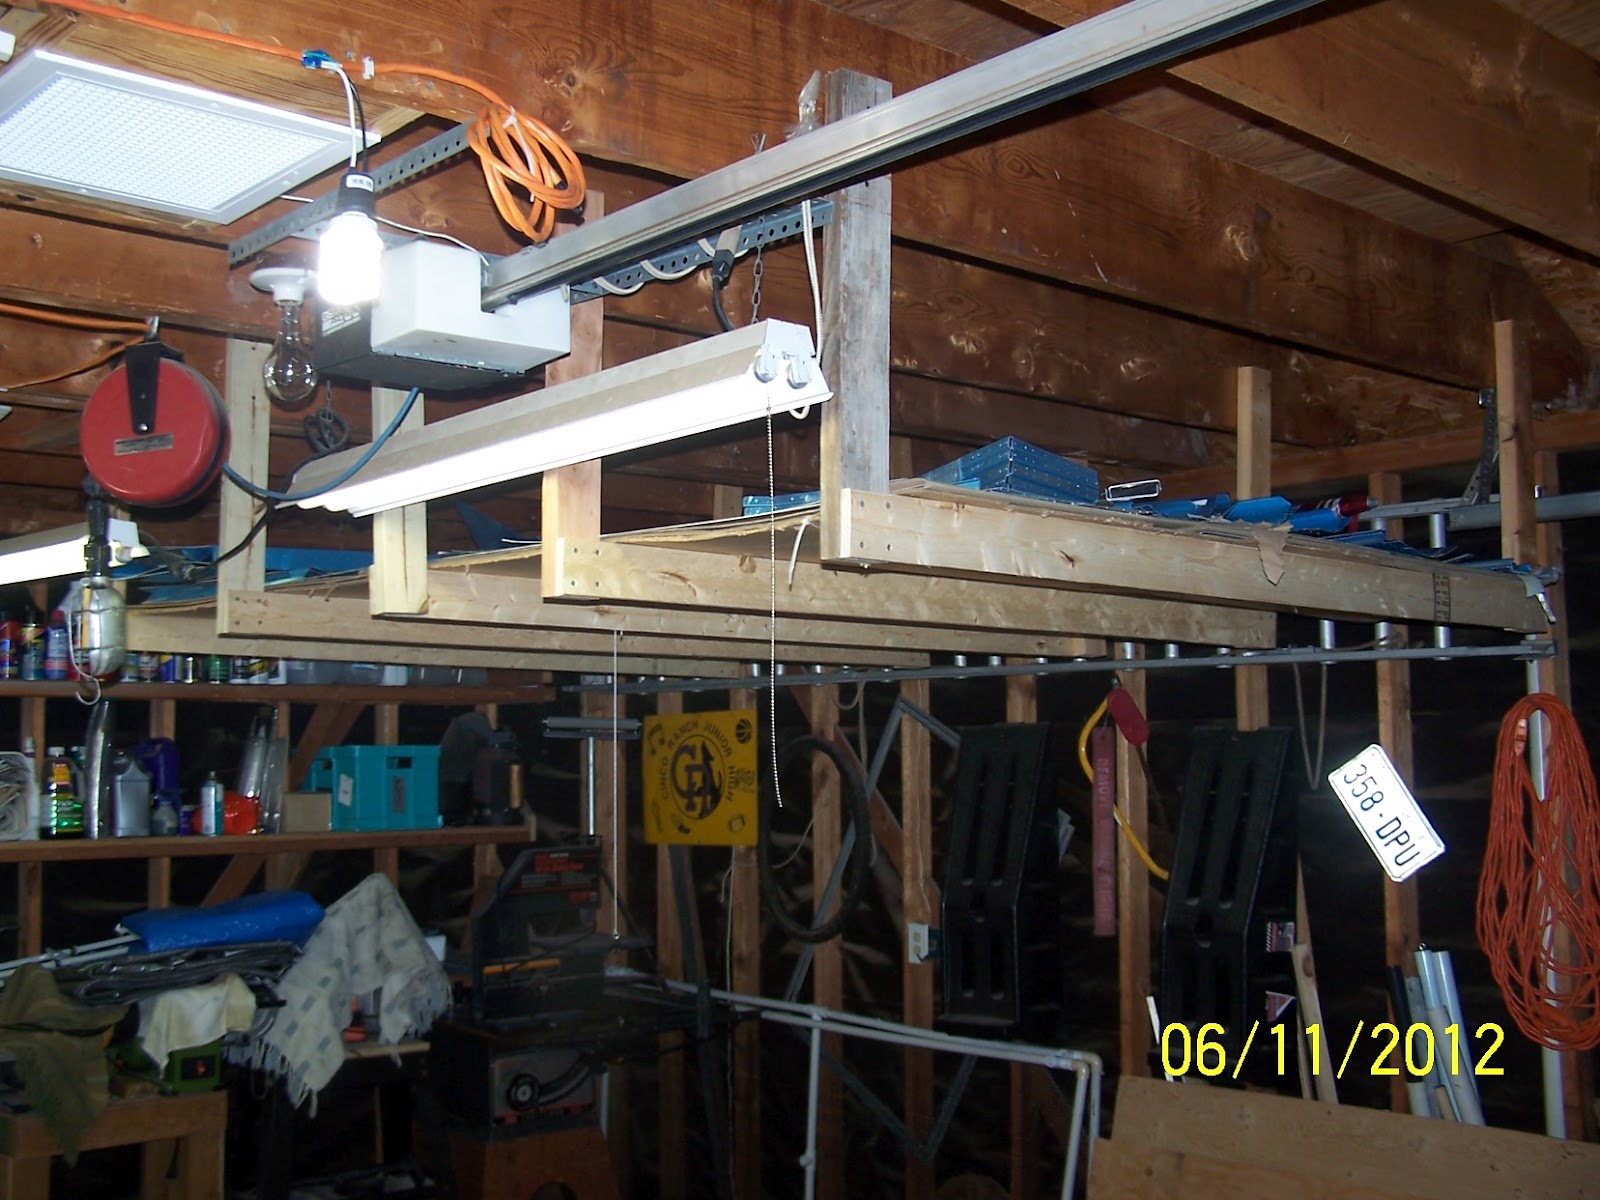
Here is my attempt at a paint booth, complete with table and air hose from the garage-based compressor.


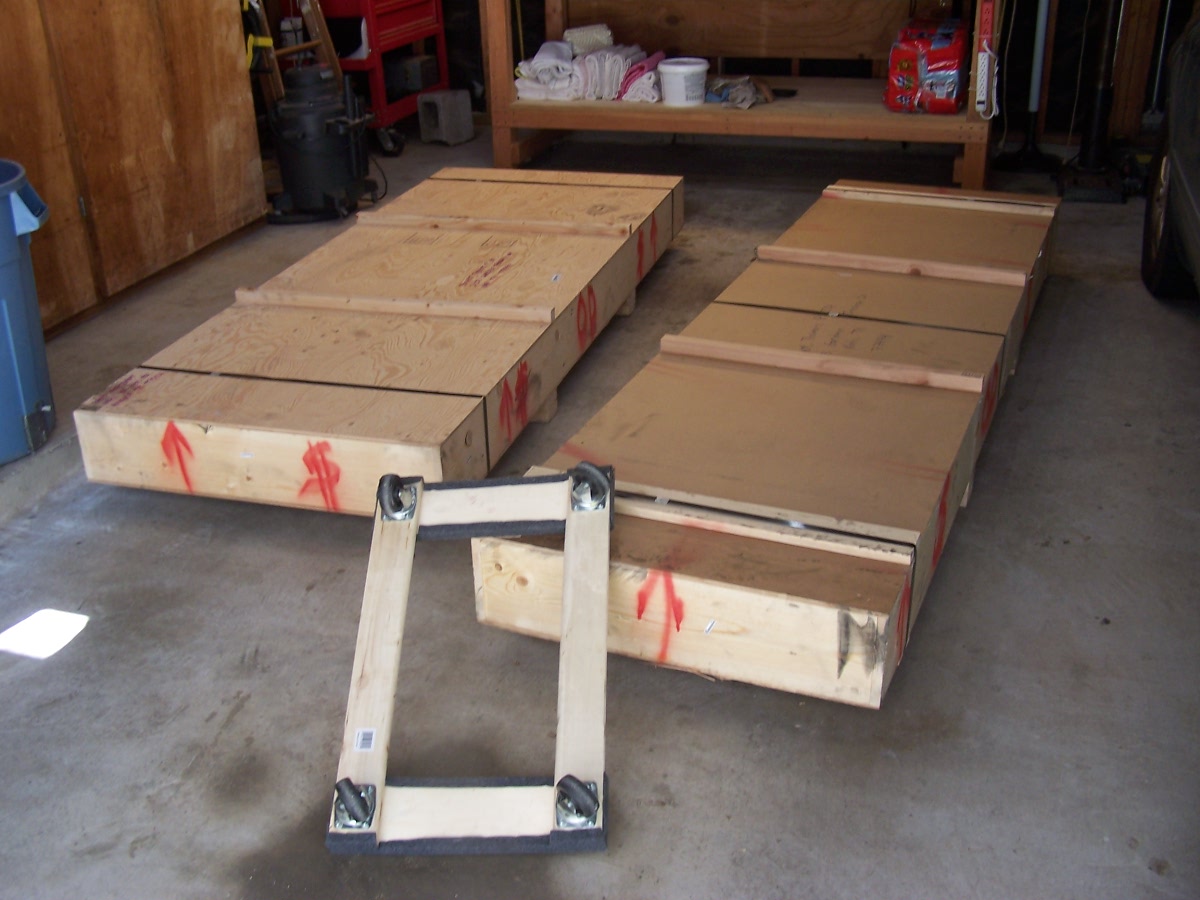
And the parts laid out on the paint table...


Fin, ready to go.


Rudder patiently waiting his turn.  A dowel is used to spread the halves apart.


Another parting shot of the booth with parts table and the fin and rudder just hanging out..


I realized that I had not taken any pictures of the primed parts until today.  When my indentured servant's associate saw them, she matter-of-factly pronounced them seafoam.  I countered with pistachio.  The Deft tech sheets state blue-green.  I'm just glad it won't be visible. Skins are obviously not shown here.


There are a couple of issues worth mentioning with this primer.  It is definitely not well suited for small applications, although the tech rep mentioned that they do sell pints.  I purchased a gallon "repair" kit and the base comes in a gallon can containing 36 ounces.  The catalyst comes in a quart can that contains 18 ounces.  When mixed in correct proportion to the distilled or deionized water (4 parts water to 2 parts base to 1 part catalyst), the yield is 128 ounces or 1 gallon.  What remains to be seen is if the 2 parts that aren't water are still liquid when I use them again (hopefully tomorrow), 4 days after they were initially opened.  I have been warned that the base would skim over and the catalyst might be jello within 20 minutes due to exposure to oxygen.  In anticipation of this, I purchased an ingenious (ingenious if it works) product called Bloxygen.  It is simply a spray can of argon gas.  The theory is that you spray it into your opened perishable can of whatever (paint, stain, catalyst, etc) for 2-4 seconds and then immediately re-seal the container.  The argon gas is 25% heavier than oxygen, soooo, the air should be mostly displaced from the can with the remaining argon gas sealing the contents from the oxidizing effects of the air.  Stay tuned for this one.

Addendum: Added this picture later to illustrate the chemicals/process involved with the priming.  From left: Deft catalyst and base, Harbor Freight HVLP gun ($12 on sale) and Bloxygen.

Thursday, June 21, 2012

Summer Solstice - Prep for Primer


I spent what I considered to be a large amount of time reading through the "primer wars" postings on Vansairforce.com.  After I reached the decision of deciding that I was going to prime, I went back and forth a number of times, completely convinced that I had my solution, only to read and research a bit more and find that I was changing my approach yet again.  It was a frustrating, yet enjoyable process of continual learning...probably a microcosm of building an entire aircraft for that matter.  As a matter of fact, I still may be in research mode and don't know it yet.  But I will soon.  Tomorrow I hope to spray the first test sample with my Harbor Freight HVLP gun and Deft primer...but I'm getting slightly ahead of myself.

The picture below illustrates the components of my selected surface preparation method, prior to priming.  PreKote is a non-toxic (chromate free) surface preparation (process) that the manufacturer claims replaces 4 chemicals and processes: 1. alkaline wash, 2. acid etch, 3. conversion coating and 4. solvent wipe.  The manufacturer emphasizes that the main purpose of PreKote is to promote adhesion of primer and finish coats (my interpretation), which will be the best deterrent to corrosion.


 I conducted my first PreKote-ing process tonight and will try to prime it tomorrow.  I applied the process to a corner of some .025 thick 6061-T6 sheet, by scrubbing the PreKote liquid with a maroon Scotchbrite in two separate applications.  The second application must be performed prior to the first one drying and by scrubbing in a direction perpendicular to the first one.  The pictures below attempt to contrast the treated area with that which was not. The sheet is standing on edge just a few moments after the PreKote process was finished by rinsing with tap water (no distilled or deionized water required).  You will notice the lack of water droplets on the PreKote side which hopefully indicates that it is sufficiently clean and ready to accept primer when completely dry.


 Hopefully the next post will detail the positive results of the primer test, which will mostly entail learning how to use my HVLP sprayer.  Also challenging for a paint nubie such as myself will be the entire process of mixing and loading the paint and actually applying a couple of light coats....stay tuned!

Monday, June 18, 2012

Vertical Stab Spar Caps, Skin

Deburring the vertical stab lower spar cap.


Final drilling the holes into the main skin to receive the forward skin (not shown).


Edge deburring of vertical stab ribs.


Dimpling of the same holes.  Nut plate holes are also deburred and dimpled and await primer before riveting.


Friday, June 15, 2012

First Parts


Vertical stabilizer (the fin, IMHO) hinge brackets are separated then final-drilled, deburred and polished.  At this early point in the kit building process I am planning on priming everything prior to final assembly.  So these little guys get to play the waiting game until there's a larger batch of parts ready for priming.

As an aside, my primer is Deft 44-GN-098, a two part water soluble epoxy primer, which is a chromate-free paint alleged to have corrosion-inhibiting qualities as good or better than the time-proven zinc chromate...but without the carcinogenic heavy metals.  At $165 per gallon, I want to minimize waste and thus the self imposed waiting for a large batch of parts to prime.  We shall see.


Finally the vertical stabilizer spar's doublers or caps are tapered to final dimension, deburred, polished and marked for location...and go into the waiting room.


Monday, June 11, 2012

Inventory & Shop - the Reader's Digest version


Hardware - 2 trays for the empennage kit and 3 for the fuselage:


I shamelessly stole the rivets-in-the-water-bottle idea from someone on Vansairforce.net.


And some brief shots of the overhead storage rack with lots of parts...


 And a quick view of the humble garage/hangar/shop.


Friday, June 8, 2012

Delivery Day Arrives - June 7, 2012!

In spite of the assigned "week of May 28th" delivery date, I kept teasing my wife that it would arrive on her birthday on June 9.  I missed by 2 days.

Two large boxes totaling 436 pounds delivered to my driveway....that would be one Empennage/Tail kit and one Fuselage kit from Aurora, Oregon.  I believe its from Van's Aircraft.


Notice the "precise" 90 degree-out-of-orientation packing method - thankfully driven that way from central dispatch, only 40 miles away, where it was dropped off by the OTR driver.


Mr. Williams from Old Dominion did the heavy lifting with a bit of assistance from the prospective builder.


We ended up "wheel barrowing" each box up the driveway with the assistance of the appliance dolly.


And the happy camper/recipient...


Inventory commences post haste.